Setting up a Playwright TypeScript Project with Step
Set up a Playwright & TypeScript project with Step, create Keywords, test locally, and deploy for execution.
This tutorial will guide you through setting up and running a Playwright-based automation project using TypeScript with Step. The project demonstrates how to create Keywords, test them locally, and deploy them to Step for execution.
BETA FEATURE NOTICE: Node.js Keywords in Automation Packages are currently in BETA phase. While functional, this feature is still under active development and may undergo changes. Please be aware that:
- API and configuration formats may evolve in future releases some edge cases might not be fully covered yet you may encounter unexpected behavior in certain scenarios.
- For production-critical workflows, please consider this beta status when planning your implementation.
Prerequisites
- Node.js and npm installed
- Step CLI installed (refer to https://step.dev/knowledgebase/28/devops/automation-package-cli/step-cli/ )
- Git (to clone the sample repository)
Project Structure
The sample project is organized as follows:
step-samples/automation-packages/playwright-typescript/
├── nodejs-keywords/
│ ├── src/
│ │ └── keywords/
│ │ ├── keywords-typescript.ts # Keyword implementations
│ │ └── keywords-typescript.test.ts # Unit tests for Keywords
│ ├── package.json
│ └── tsconfig.json
└── automation-package.yaml # Automation Package descriptor
Keywords Implementation
Keywords are defined in playwright-typescript/nodejs-keywords/src/keywords/keywords-typescript.ts.
These Keywords use the Step Keyword API to create reusable automation components. For detailed information about the Keyword API, please refer to the Step Keyword API documentation: https://step.dev/knowledgebase/28/devdocs/keywordapi
Unit Testing
Unit tests for the Keywords are located in playwright-typescript/nodejs-keywords/src/keywords/keywords-typescript.test.ts.
These tests allow you to validate your Keywords locally before deploying them to Step, ensuring they work as expected in isolation.
Automation Package Descriptor
The automation-package.yaml file at the root of the project defines the Automation Package configuration. This descriptor tells Step how to package and execute your Keywords.
Getting Started
1. Clone the Repository
git clone https://github.com/exense/step-samples.git
2. Install Dependencies
cd step-samples/automation-packages/playwright-typescript/nodejs-keywords
npm install
Testing Keywords Locally
To test the Keywords locally without deploying to Step:
cd step-samples/automation-packages/playwright-typescript/nodejs-keywords
npm test
This command will:
- Run the TypeScript unit tests
- Validate that your Keywords are working correctly
- Provide immediate feedback on any issues
Deploying and Executing in Step
1. Build the Project
Before deploying to Step, you must compile the TypeScript code to JavaScript:
cd step-samples/automation-packages/playwright-typescript/nodejs-keywords
npm run build
Important: This build step is crucial as it compiles your TypeScript code into JavaScript that Step can execute.
2. Execute in Step
Navigate back to the automation package root directory and execute:
cd ..
step ap execute --stepUrl=<YOUR_STEP_URL_HERE>
This command will:
- Package your Automation Package
- Execute the Plans contained in your Automation Package on your Step environment
3. Deploy to Step
Navigate back to the automation package root directory and execute:
cd ..
step ap deploy--stepUrl=<YOUR_STEP_URL_HERE>
This command will:
- Deploy your Automation Package to your Step environment, so the plan can be executed from the UI
Next Steps
Troubleshooting
Common Issues:
- Build fails: Ensure all dependencies are installed with npm install
- TypeScript compilation errors: Check your tsconfig.json configuration
- Step CLI not found: Verify Step CLI is properly installed and in your PATH
Additional Resources
This article demonstrates how to connect Grafana to data generated by Step.
This article demonstrates how to set up distributed system monitoring using Keyword executions, and analyze the results as measurements.
This tutorial demonstrates how to automate interaction with Microsoft Office applications using the Office Interop Assembly.

This article provides documentation for how to integrate JUnit tests into Step.
This tutorial demonstrates how Step can be used to monitor services, availability and performance metrics.
This tutorial demonstrates how to utilize the AutoIt C# binding to automate interactions with Windows applications.
This article demonstrates the automation of mobile applications on Android using the Appium framework.
This article defines three Keywords which will be used in browser-based automation scenarios, using Step and Selenium, as general drivers.

This tutorial shows you how to efficiently set up a browser-based load test using existing Cypress tests in the Step automation platform.
In this short tutorial, we show how to quickly implement a simple browser-based load test based on Cypress scripts in Step.

This tutorial shows you how to set up a browser-based load test using existing Playwright tests in the Step UI.

This article explains Keywords in Step and demonstrates how to create simple ones.

This tutorial demonstrates the design, execution, and analysis of functional tests using the web interface of Step.
This tutorial will demonstrate how to use Step and Selenium to automate various browser tasks.
This tutorial demonstrates how to use Step and Cypress to automate various browser tasks.
This tutorial demonstrates how Selenium automation tests can be turned into full synthetic monitoring using Step.
In this tutorial, you'll learn how to reuse existing Cypress tests to quickly set up and run a browser-based load test using the automation as code approach.

In this tutorial, you'll learn how to reuse existing tests written with Serenity BDD and Cucumber for load testing.
This tutorial demonstrates how Cypress automation tests can be turned into full synthetic monitoring using the automation as code approach.
In this tutorial, you'll learn how to reuse existing Cypress tests to quickly set up and run a browser-based load test using the Step UI.
This tutorial demonstrates how to leverage existing Selenium tests to set up and execute browser-based load tests, following a full code-based approach.
This tutorial demonstrates how to set up a browser-based load test in the Step UI using existing Selenium tests.
This tutorial demonstrates how Playwright automation tests can be turned into full synthetic monitoring using Step.
This tutorial demonstrates how Cypress automation tests can be turned into full synthetic monitoring using the Step UI.

This tutorial will demonstrate how to use Step and Playwright to automate various browser tasks.

This tutorial shows how to distribute JMeter tests across multiple nodes.
In this tutorial, you'll learn how to reuse existing Playwright tests written in Java to quickly set up and run a browser-based load test using the automation as code approach.
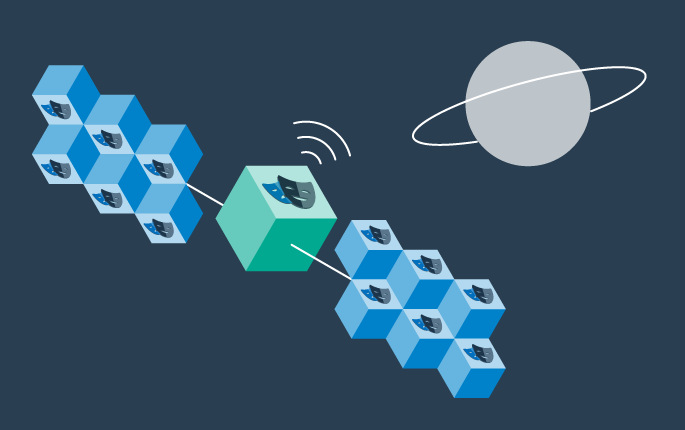
This tutorial demonstrates how Playwright tests can be reused for synthetic monitoring of a productive environment in a DevOps workflow
This tutorial shows how to distribute Grafana K6 tests across multiple nodes.
This tutorial demonstrates how Playwright tests can be reused for synthetic monitoring of a productive environment in a DevOps workflow

In this tutorial you'll learn how to quickly set up a protocol-based load test with okhttp
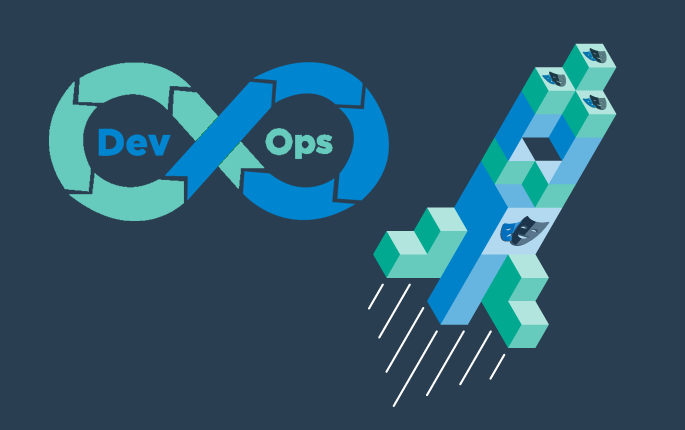
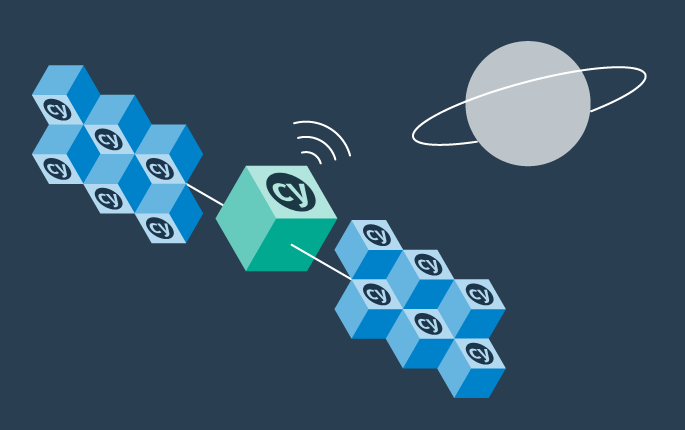
Learn how to set up continuous end-to-end testing across several applications based on Playwright tests in your DevOps pipeline using Step
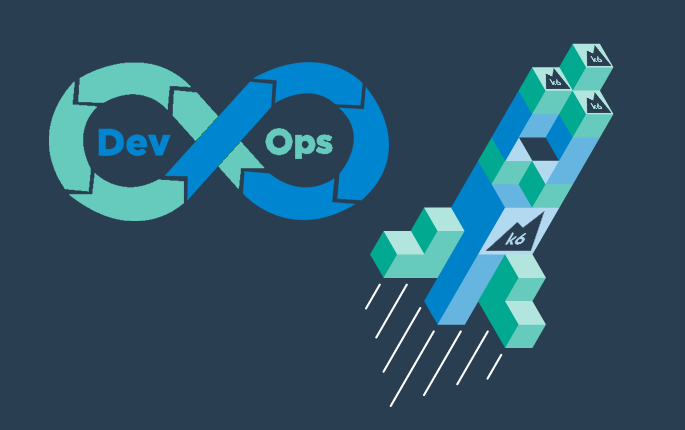
Learn how to quickly set up continuous browser-based load testing using Playwright tests in your DevOps pipeline
Want to hear our latest updates about automation?
Don't miss out on our regular blog posts - Subscribe now!
