Quick setup (SaaS)
The goal of this short guide is to get a step cluster up and running quickly within our step portal. In the next pages of this introductory guide, you’ll then be able to create and deploy your first distributed automation scripts (called “Keywords”) on this freshly created cluster.
Registration
Visit https://portal.stepcloud.ch/registration and create an account for your organization*.
Once you entered all information you will have to click the confirmation link in the provided mail address and will be automatically logged in.
 Finish your registration by Adding your billing information under [Billing -> Add credit card](https://portal.stepcloud.ch/billing/manage/add).
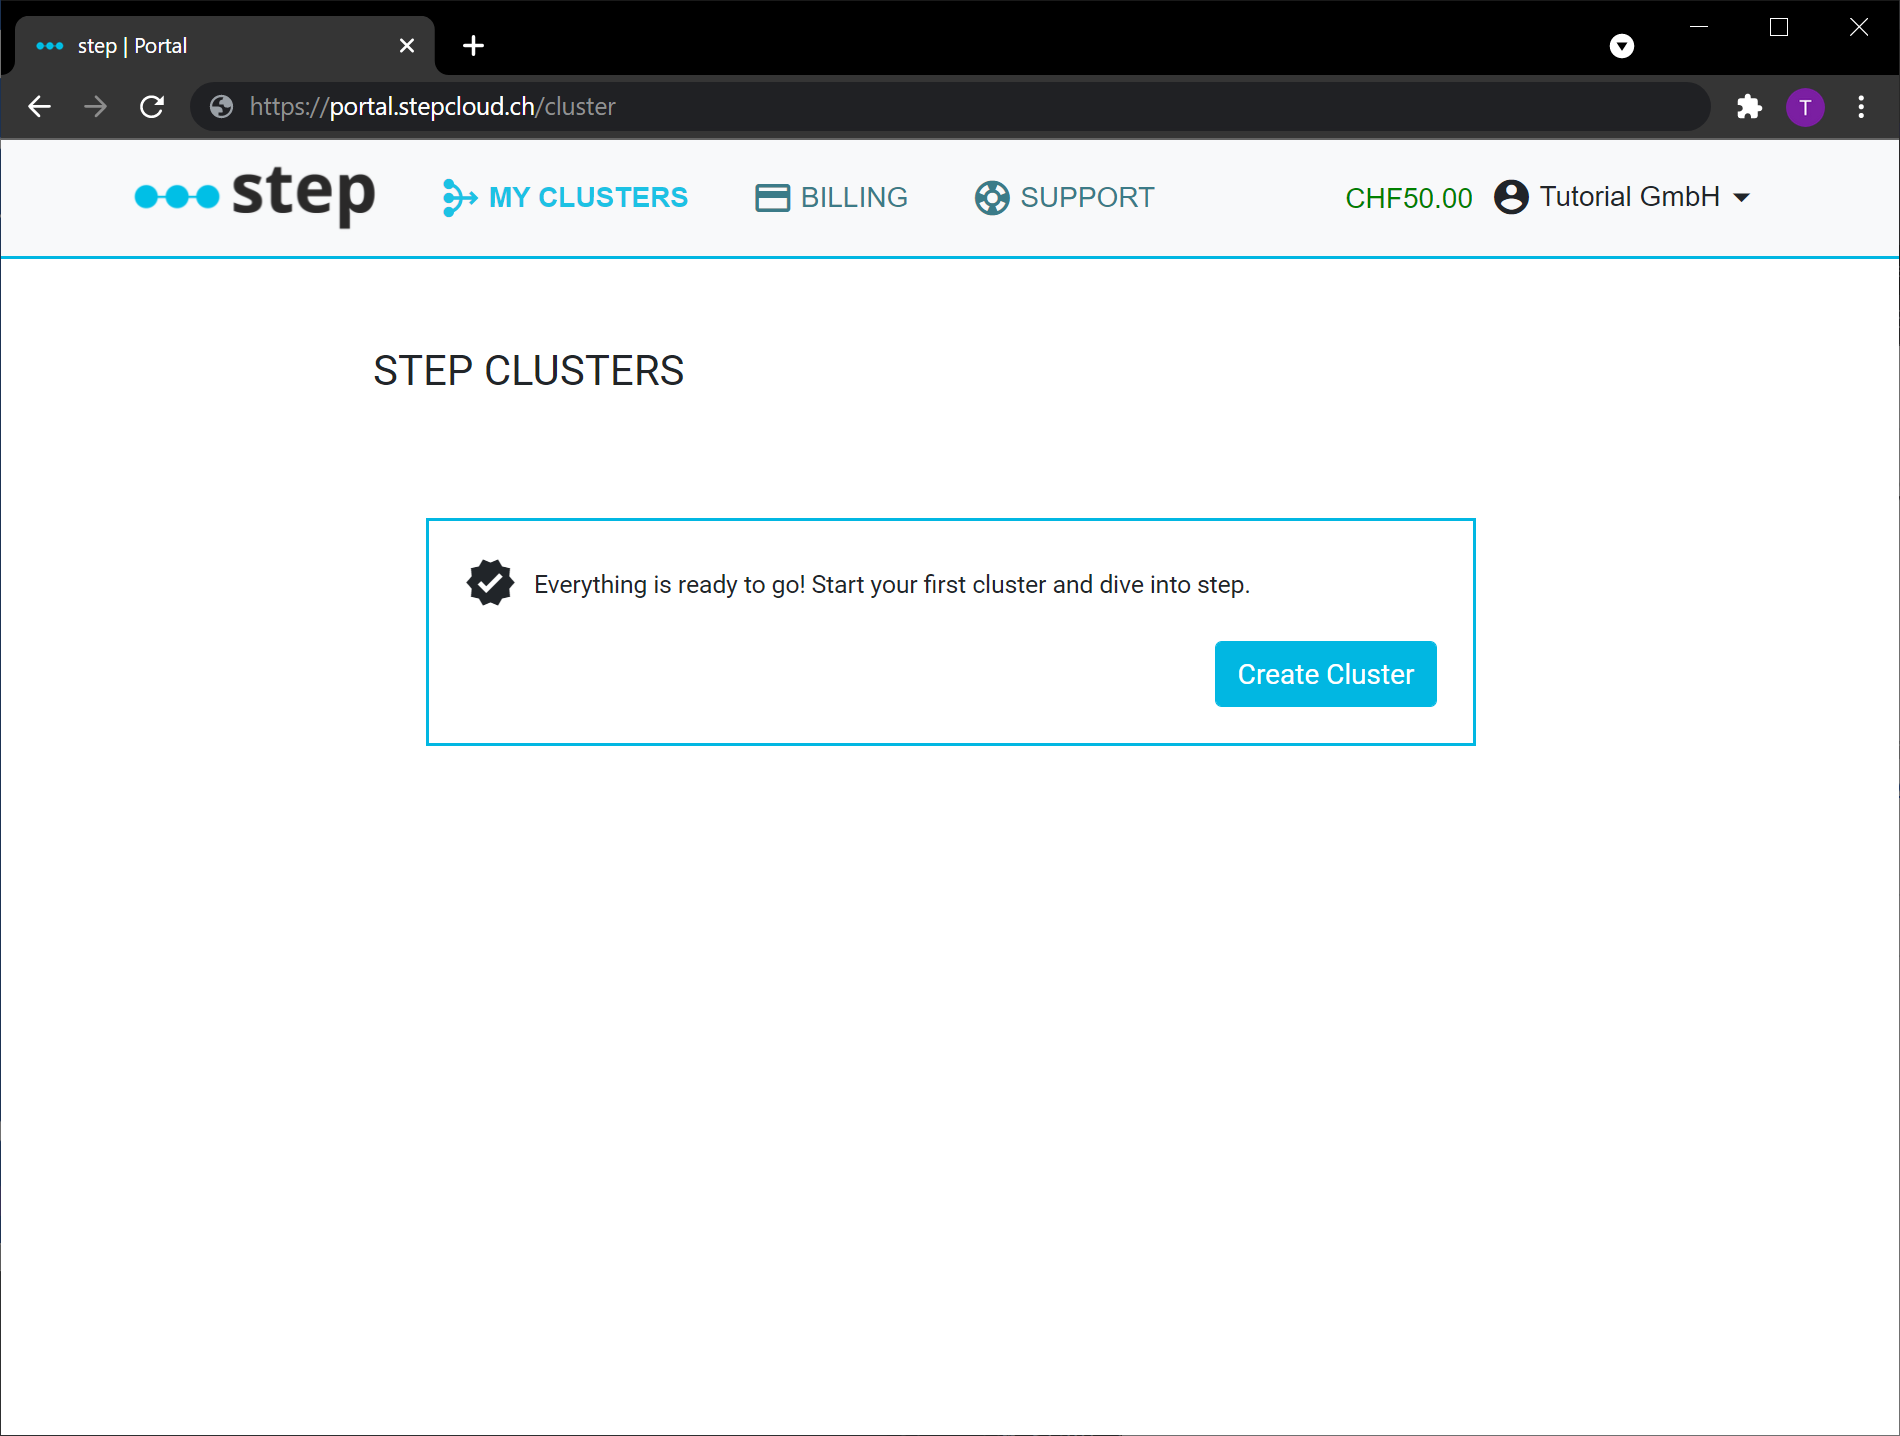
Setup
Setting up a cluster is simple and fast. Navigate to My Clusters -> Create Cluster.
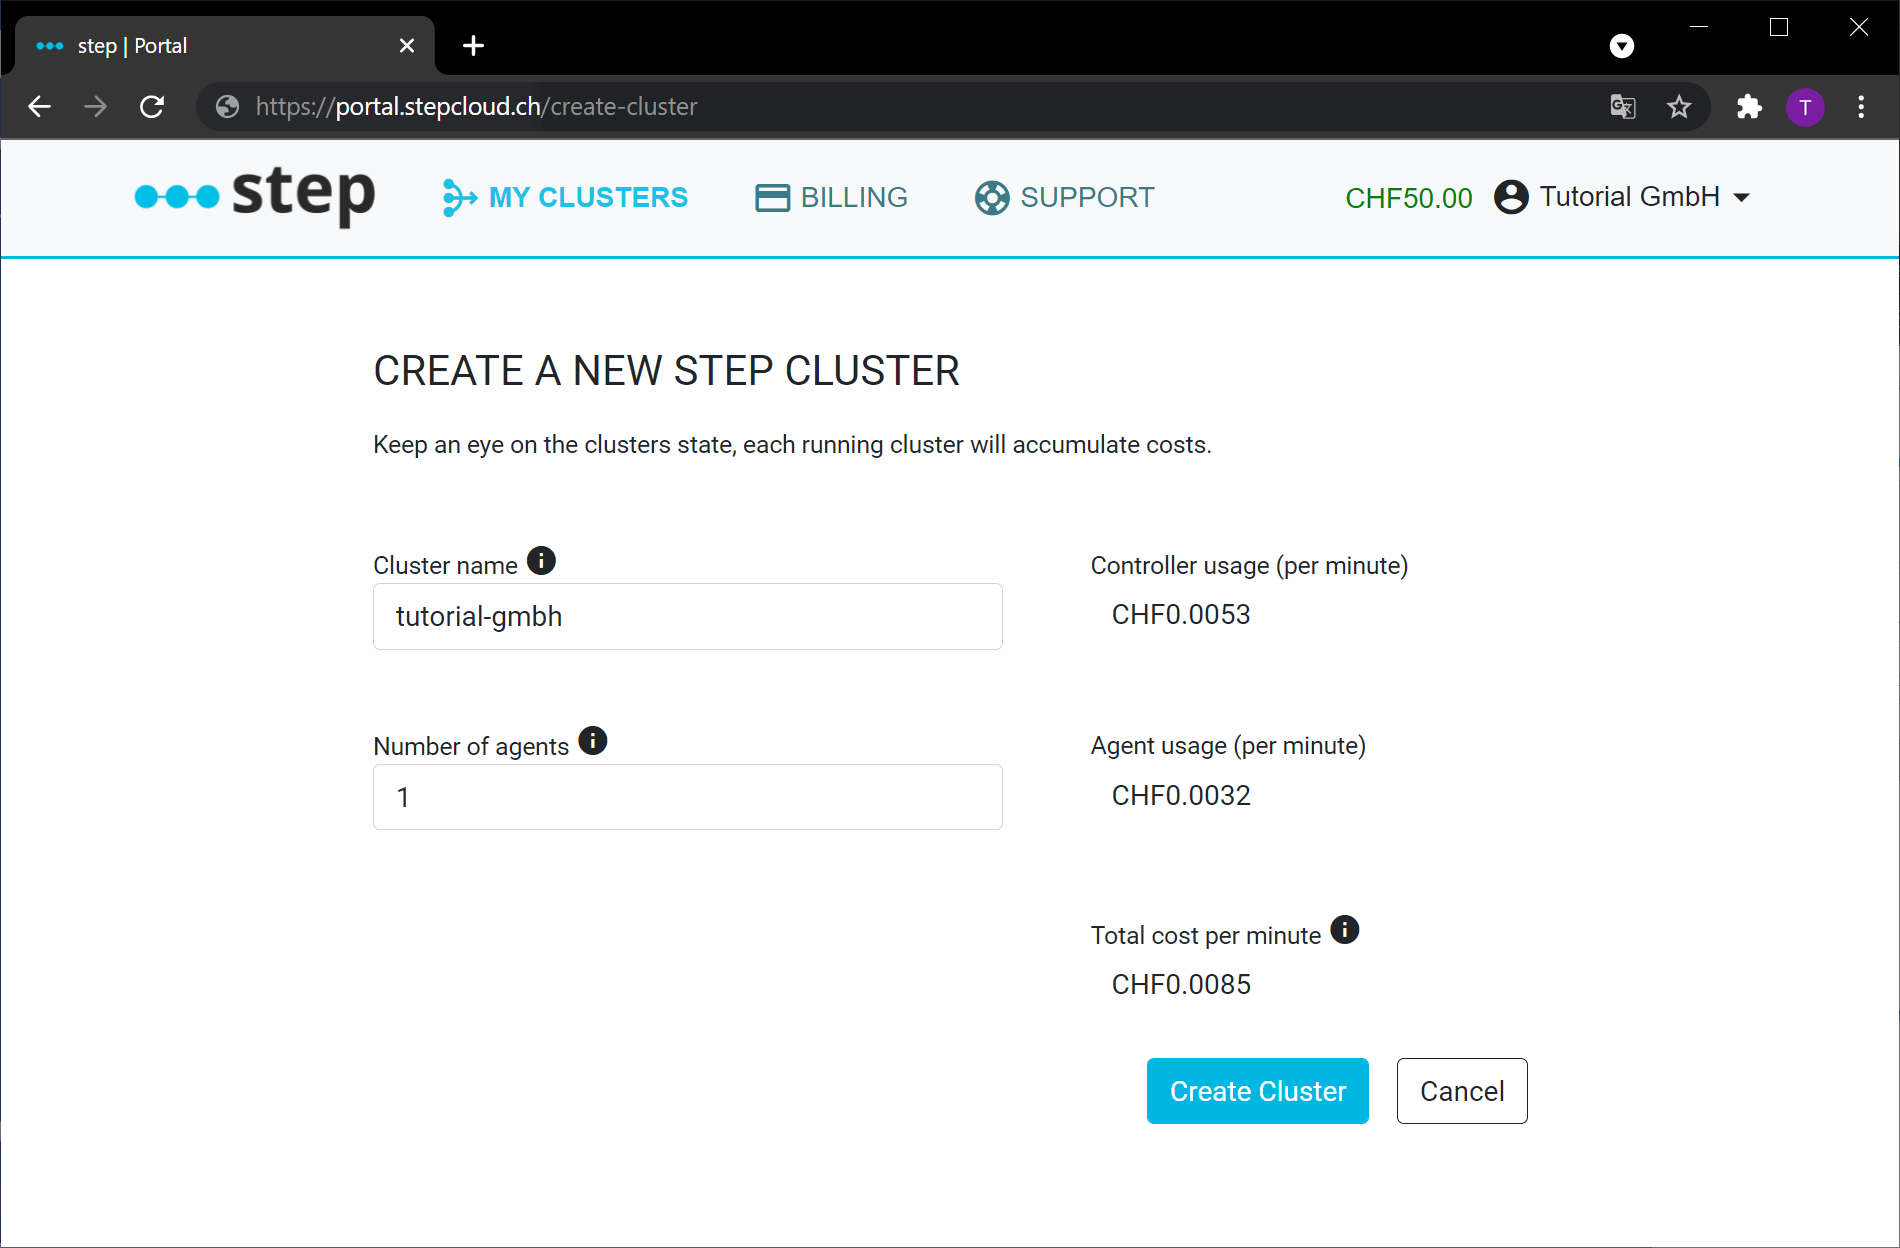
- Choose a valid unique cluster name. The portal will automatically suggest a valid one based on your organization name.
- Select more agents to get more computing power in your cluster. You can also change this at all times while your cluster is running.
- The costs per minute are calculated automatically and shown on the right side. If you got our special free credit offer your credits are shown in green on the top right, these are used before anything will be billed to your credit card.
Run
After creating a new Cluster it will automatically start up, this can take several minutes. You can see the progress in the status field, once it switches to “Running” your cluster is ready to go.
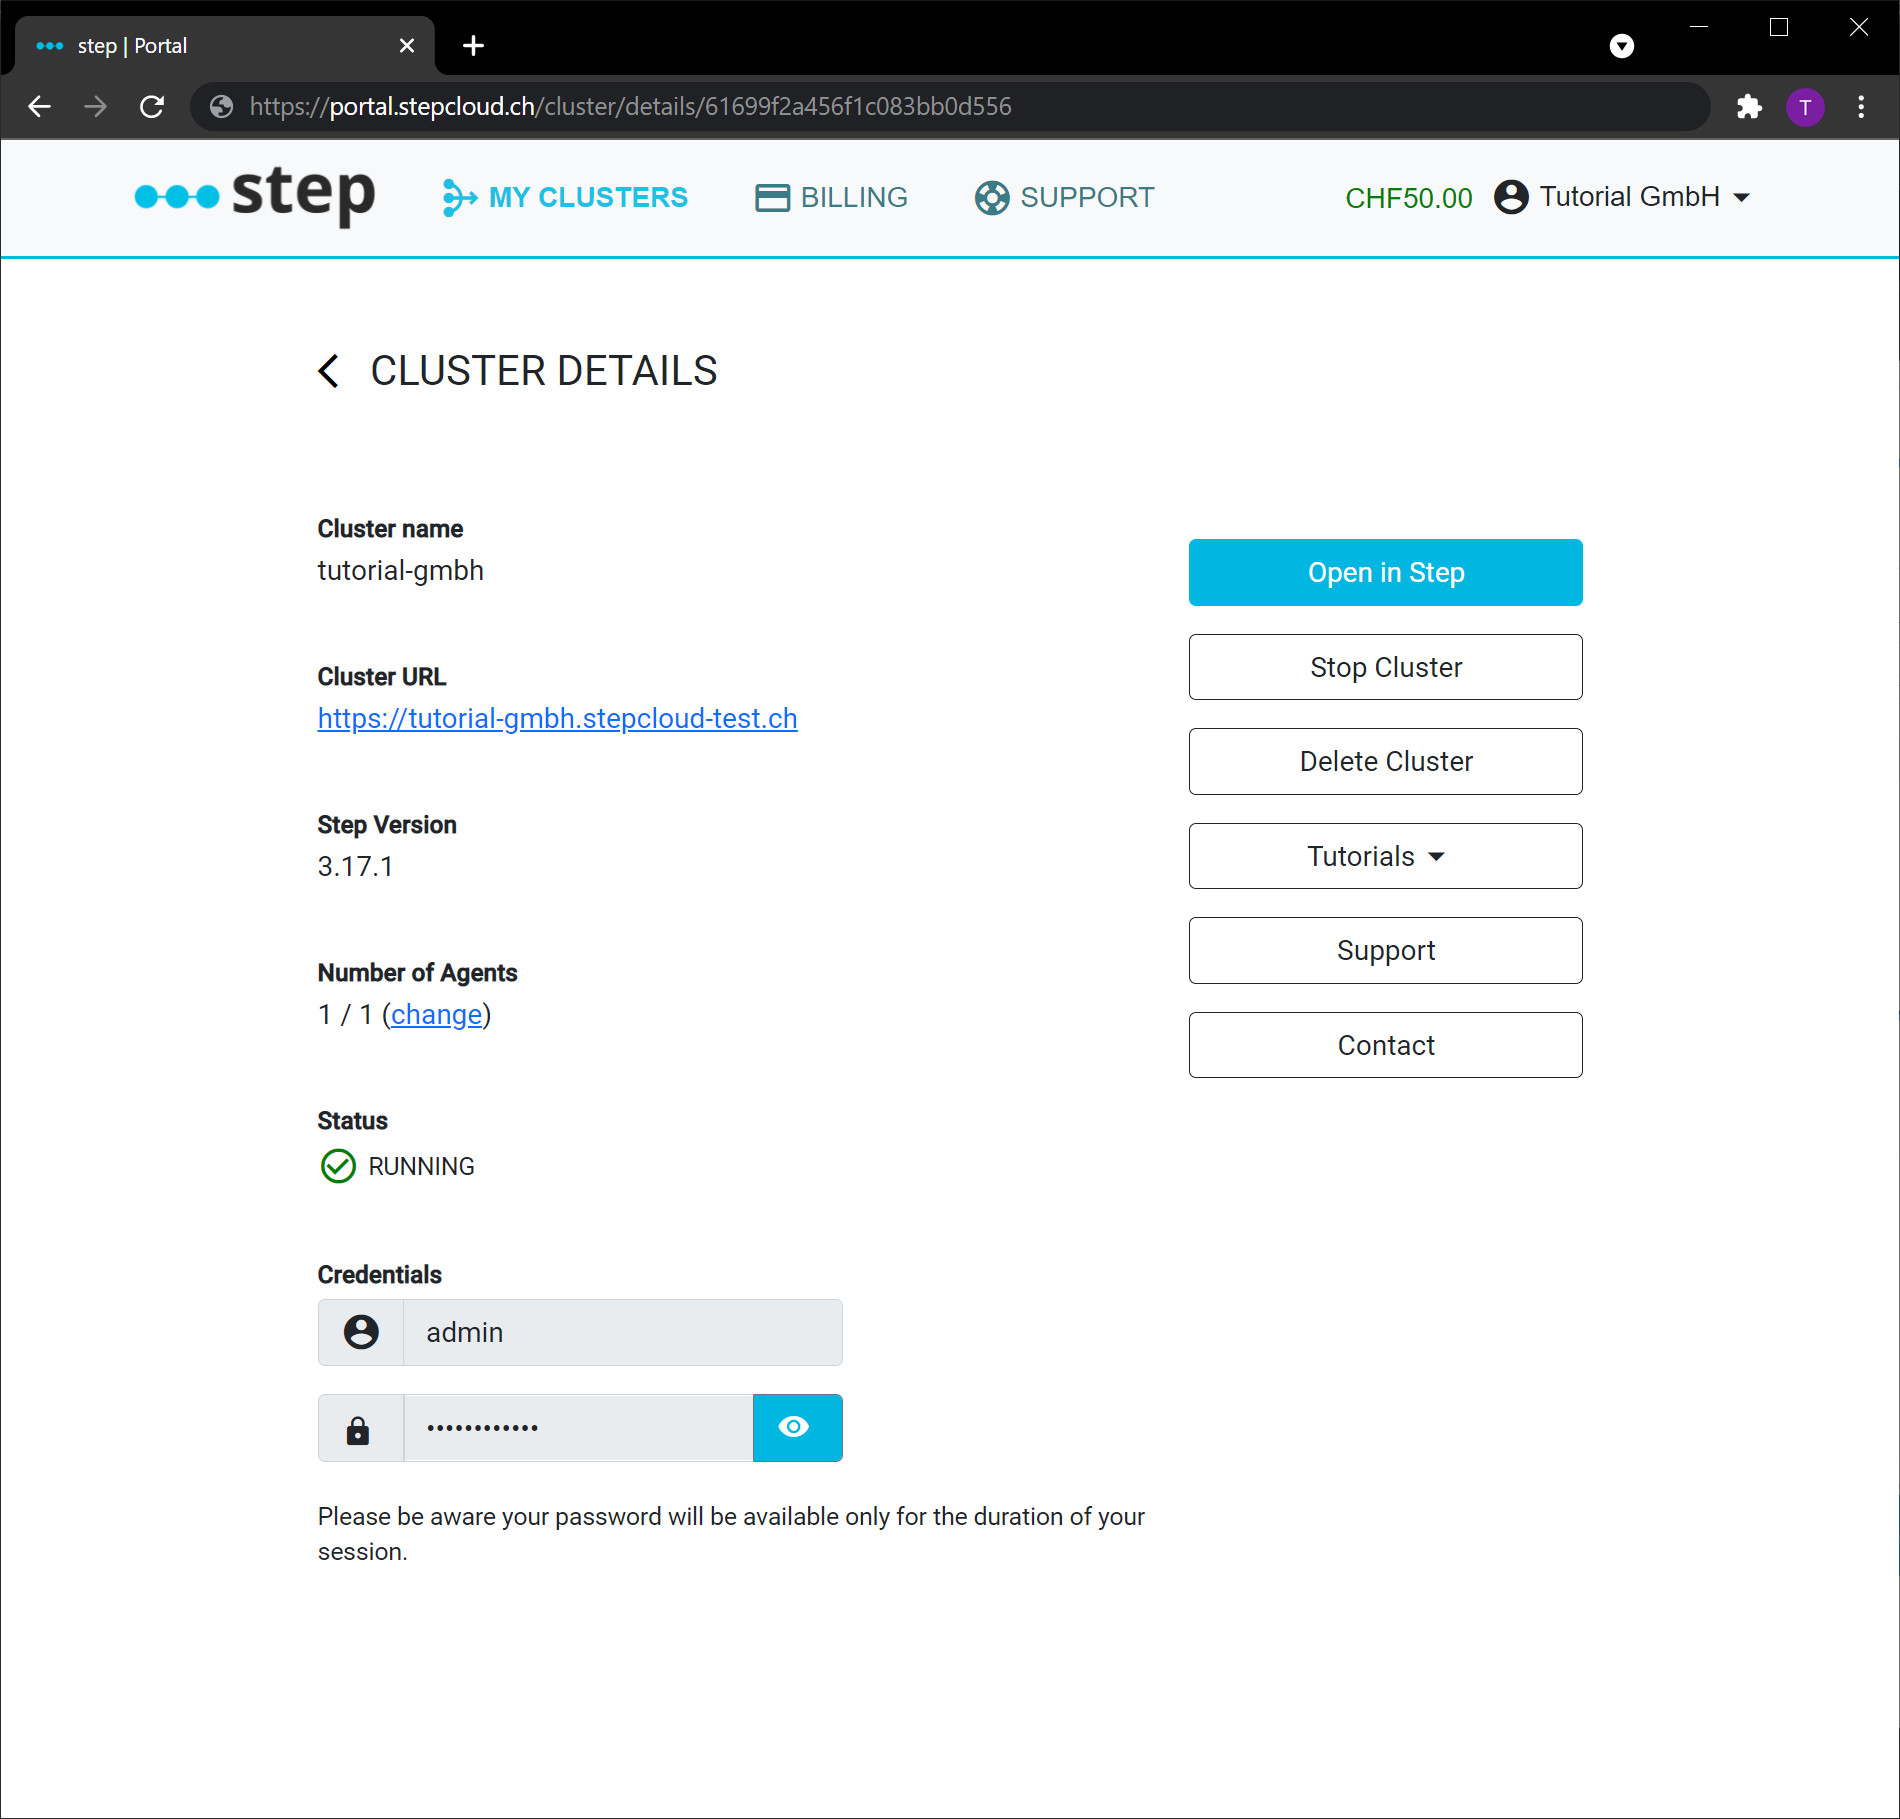
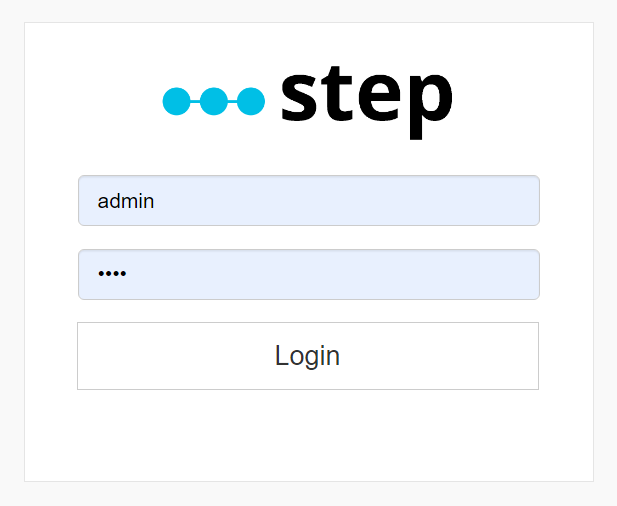
Once it is running a button “Open in step” will be available to open the cluster in step. Login with the credentials provided in the cluster details.
Validating your setup
If you can log into the application, your installation is most likely successfully. Let’s just make sure that your agent has registered successfully against the controller by taking a look at the Grid’s current state. Just click on the Grid tab in the upper menu. It should take you to a page listing the currently connected agents, which looks like this:
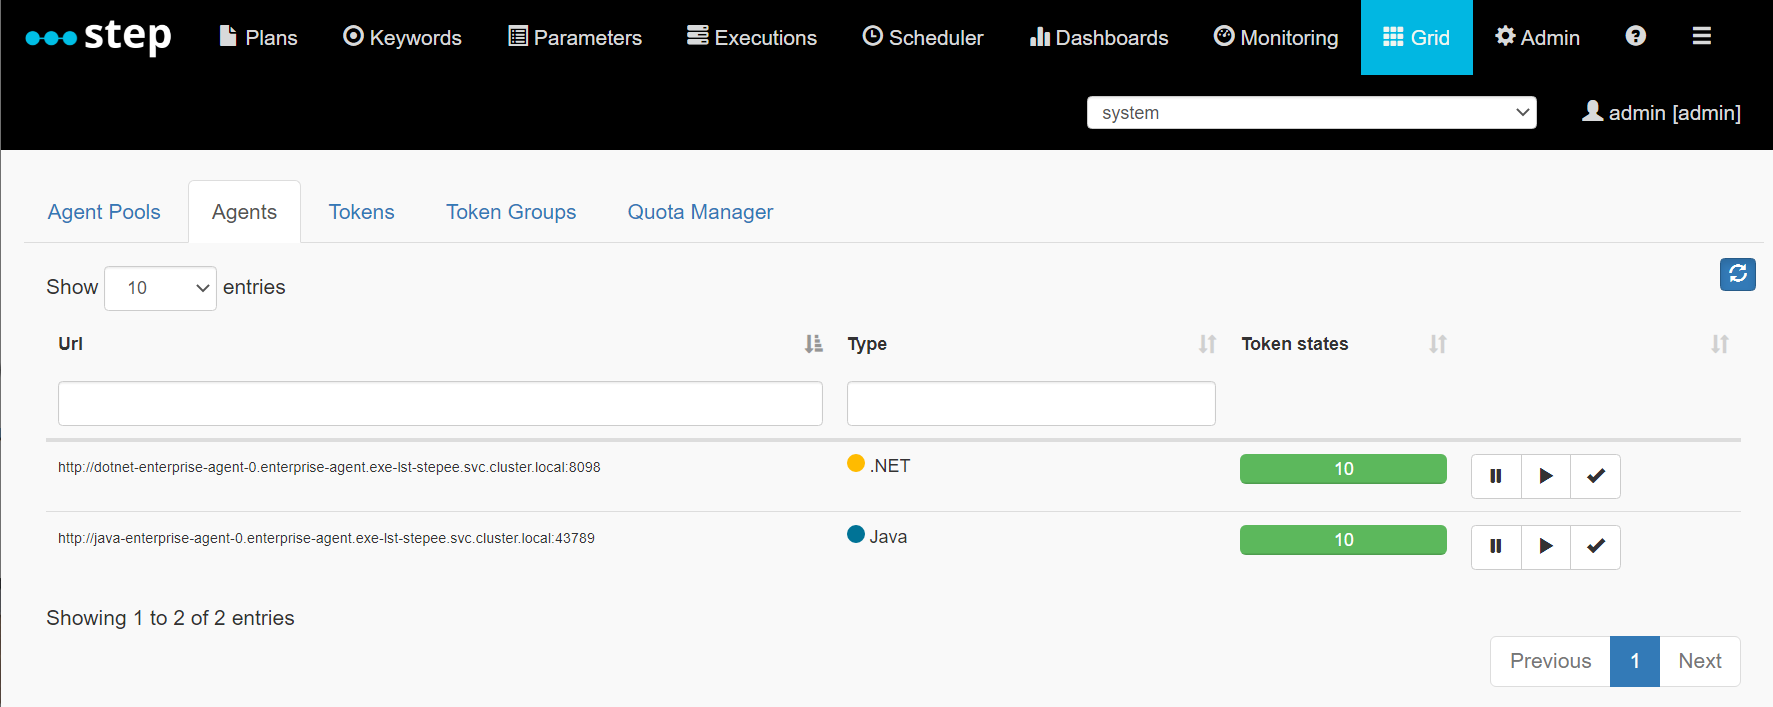
The entry at the bottom displays a http url, and a green monitoring bar (in the example with the number 10) indicating that your agent has successfully connected and is ready to receive a workload.
You can now move on to the creation of a [basic javascript keyword] (https://step.dev/knowledgebase/3.17/getting-started/my-first-keyword/) to make use of that agent.