Visual Plan editor
The Visual plan editor is the most basic and straight-forward way to create a Plan in step. When using the Visual interface you create your Plan in a code-free intuitive editor that gives instant access to the libraries of available Keywords and Controls. Using the Visual interface makes it possible to create a Plan in an intuitive manner without technical skills and prior knowledge of step. It is also well-suited for complex automation plans which require a visual representation of the Plan. Alternative options to the Visual plan editor are listed here
Creation
To create a new Plan using the Visual editor, log into the web interface of step, navigate to Plans and click on the “New plan” button in the Plan view:

At the Plan creation, you need to select the type of Control for the root node of your Plan. By default a Sequence is selected, which is fine in most cases. For classical automation scenarios step comes along with specific controls that add some specific features when used as root node of the Plan. Depending on your scenario following Controls might be selected as root:
- Functional test case: TestCase
- Functional test set (a set of test cases): TestSet
- Load test scenario: TestScenario
- Monitoring test case: TestCase
- Please refer to the plans page for an exhaustive list of available controls

Edition
When creating a new Plan or opening an existing Plan you’ll be redirected to the Plan editor. The Plan editor is structured as follow:
Plan tree
On the left side of the editor the plan tree is displayed. There you can interact with the nodes of the tree either using the buttons at the top, drag and drop, the context menu or keyboard shortcuts.
The available operations are:
- select: to display the details of the node in the middle part of the editor
- move: reorganize the structure of your tree
- copy-paste: duplicate a node. You may paste the copied node into another plan given that you stay on the same browser tab
- delete: remove the selected node from the plan
- rename: rename the node
- open: open corresponding editor if any (i.e. for called plans and composite). Can also be triggered via double click
- disable/enable: disable the execution of this specific node and its children
Node edition
When selecting a node in the plan tree the details of the node are displayed in the middle part of the editor.
Component library
On the right side of the editor access is given to the 3 types of libraries
- Controls: listing the available Controls
- Keywords: listing the registered Keywords
- Other plans: listing the Plans which might be referenced to build modular Plans
You can add as many nodes as you want by clicking the + buttons of the items shown in the different library tabs. They will then be automatically added to the currently selected node of the plan tree. Then, using drag and drop and the upper arrow and lower arrow buttons, you can reorganize nodes and place them in the order that you want:

Execution
To execute you’re plan, click on the play button located on the top of the editor. You’ll then be prompted for the start parameters. Per default there’s only one start parameter configured: Environment. The list of available start parameters can be extended and fully customized. Once the start parameters selected you have to choose the execution mode. 3 execution modes are available:
- Simulation: When running a Plan in the simulation mode, the plan is executed normally up to Keywords. In this mode Keywords aren’t executed but only “simulated” which means that they will be reported as PASSED with an empty output. This mode can be used to check the global execution flow of the Plan before executing it.
- Execution: This is the normal execution mode. In this mode both the plan and the keywords are executed.
- Scheduling: With this button you can schedule your plan to run it later or regularly.

Debugging (interactive session)
You can debug a plan and run it step by step using the interactive session of the visual plan editor. To start an interactive session click on the button Start interactive session located next to the execution button.
Once the interactive session started you can run each node by selecting it and clicking on the button “Run interactively”


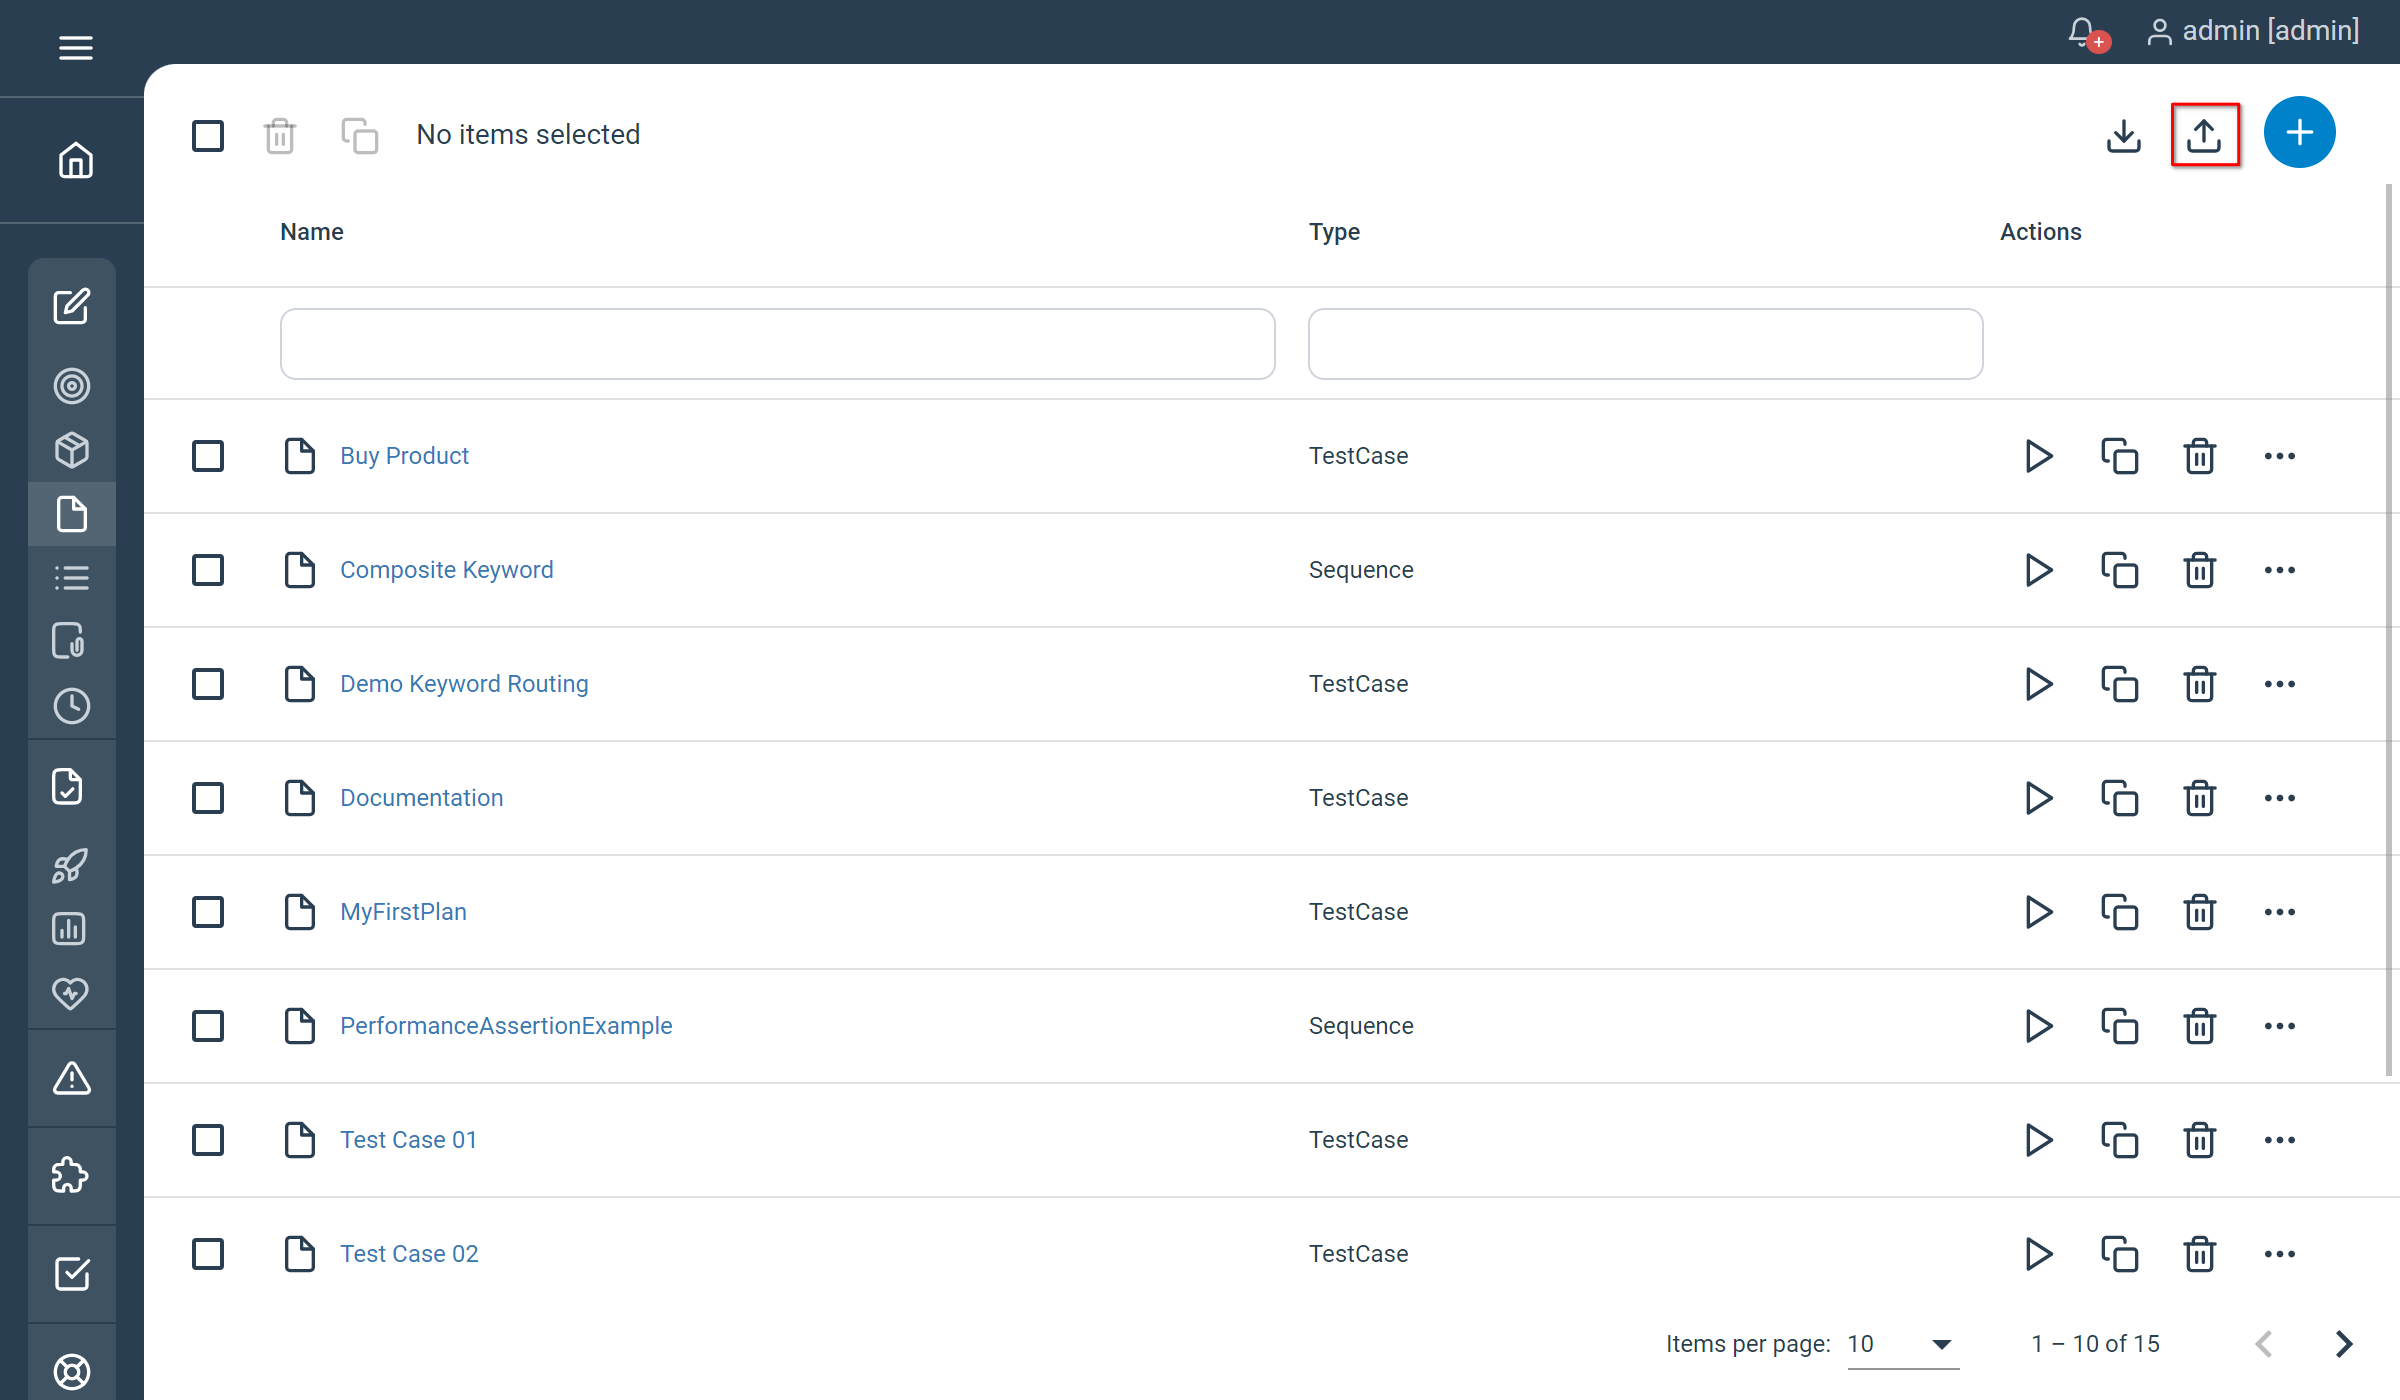
Export
You can export and download a Plan from the Visual Plan Editor using the button Export located on the top of the editor. The plan is exported as a Json file which can be reimported in the the same instance or another instance of step. To import a Plan navigate to Plans, click the import button on the top of the table, drag&drop the export file (artefact_export.json) and click the OK button. You should find the freshly imported plan in the plan list.